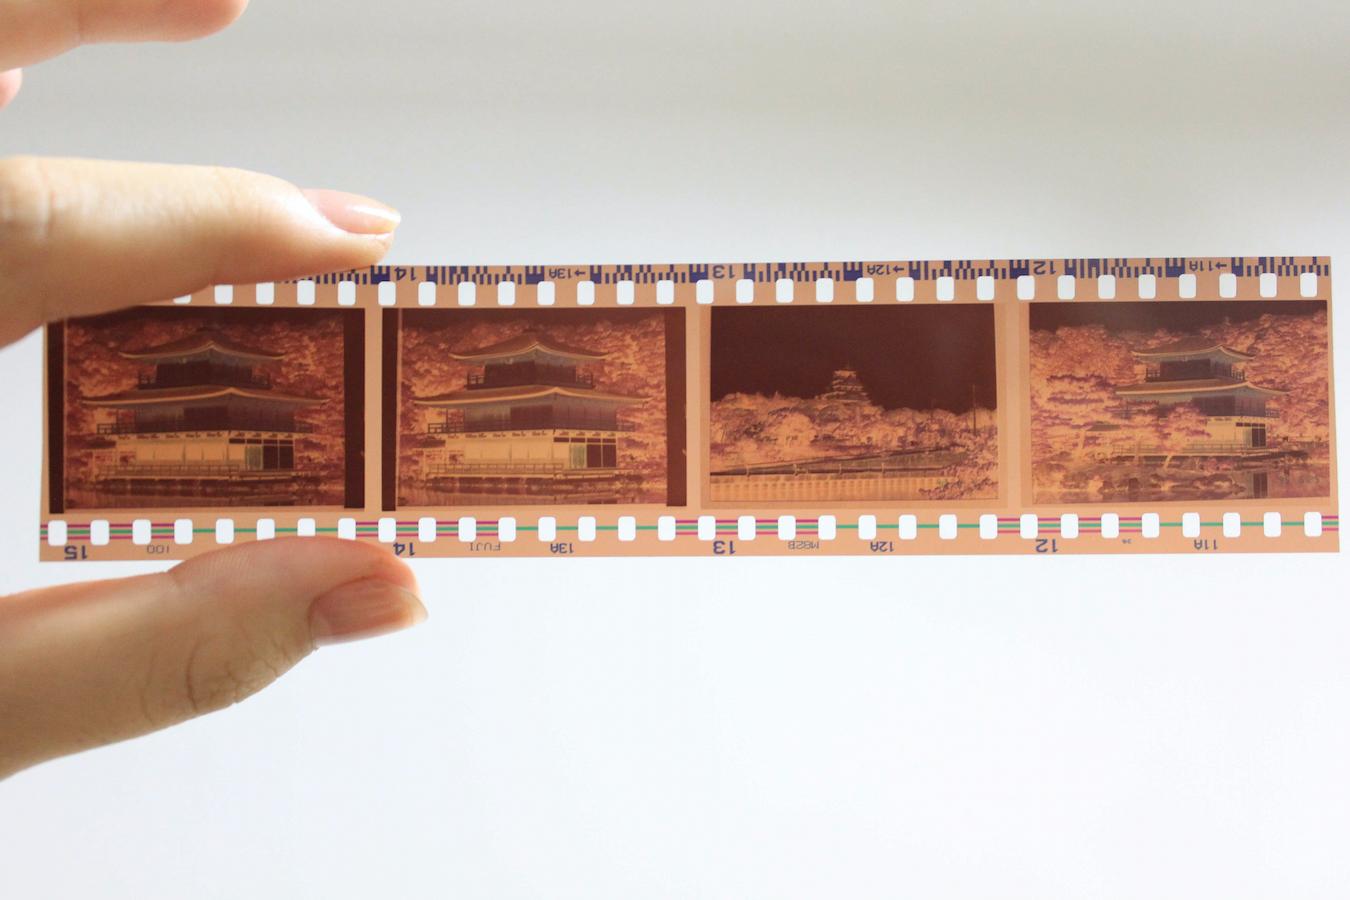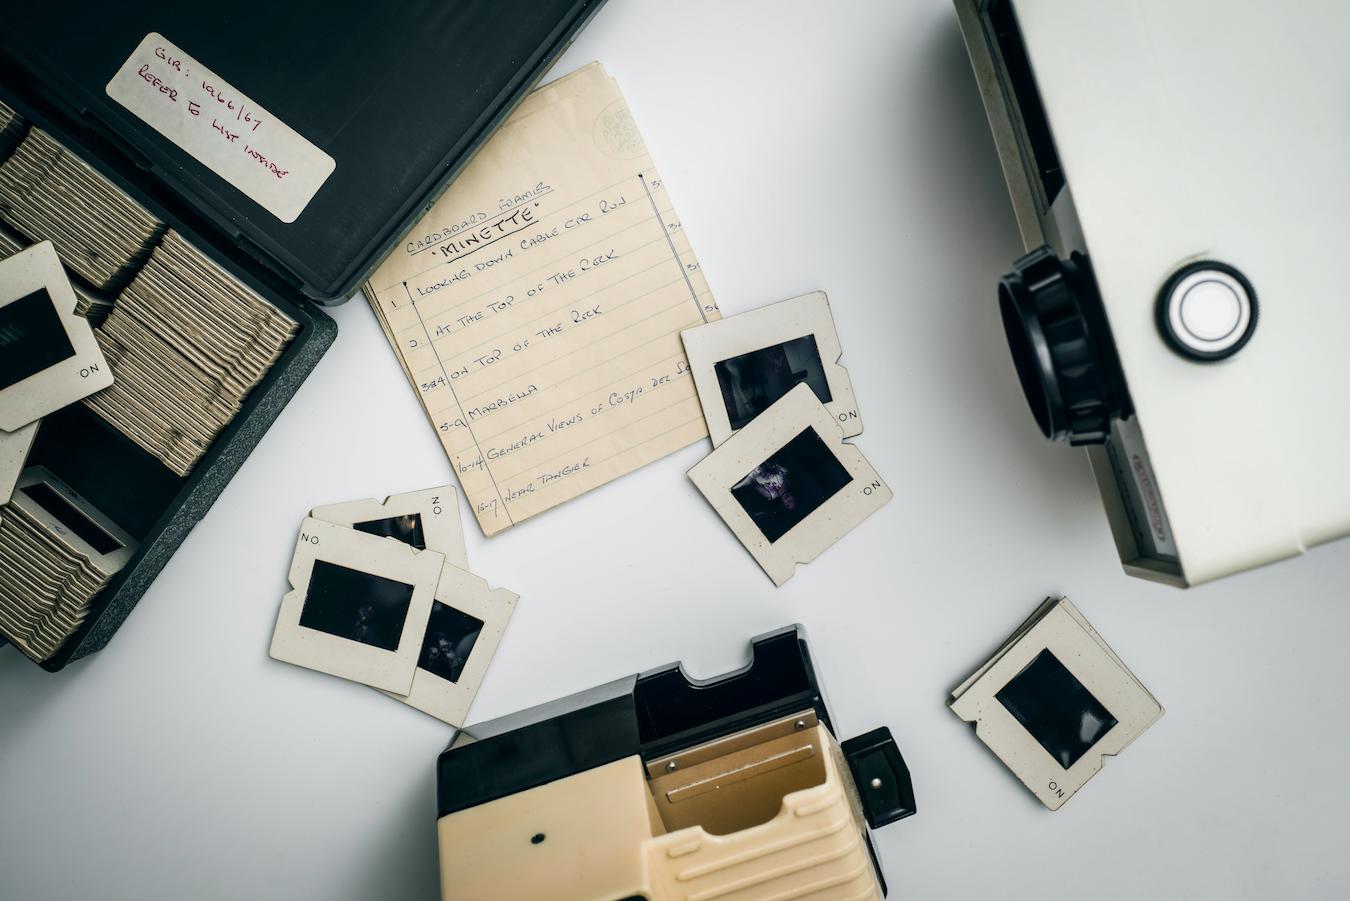
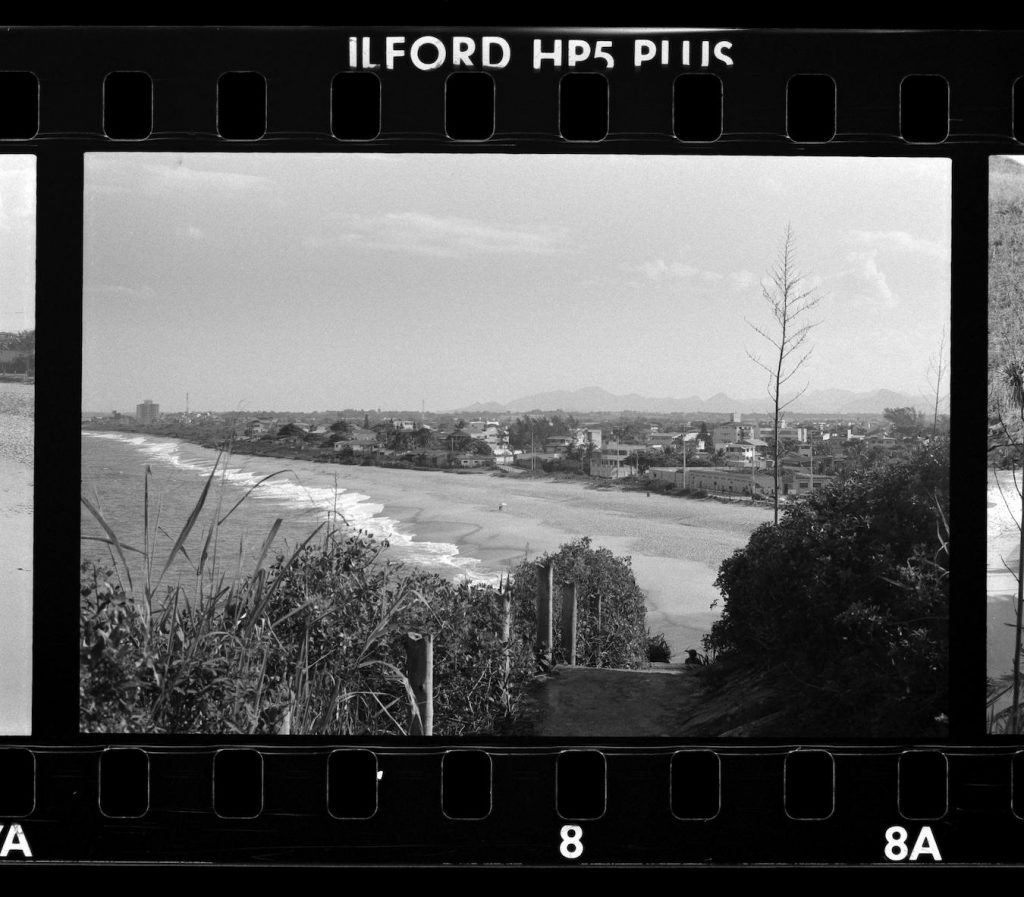
For many of us, 8mm films are synonymous with precious memories and home videos. These film reels might include your first bike ride or even your wedding day.
But in the digital age, 8mm film is dying. So preserving these memories and converting them to a digital format has become crucial.
Luckily, there are a few different ways to convert your 8mm film to digital format. You can choose between DVDs, USB drives, a hard drive, or an SD card.
Really, you can choose any way to store your media and relive your family pictures. But if you’re having trouble knowing where to start, try reading these helpful guides below.
Here, you’ll discover different ways to transfer your sentimental VHS memories into digital formats. This way, your sentimental film will be sure to last.
See Related: What is Film Editing?
#1. Record them while playing

This is the simplest method to convert 8mm to digital files without hiring a professional. You are essentially re-recording your old film as you play it on a projector.
This method allows for a cost-effective way to shift video formats. But this conversion method is still far from perfect.
If you’re looking for a cheap and easy way to process film, this converter method seems to fit the bill. To start, you’ll need to gather up the following materials below:
- Your old films
- A projector
- A surface to project on
- A camera
Once set up, all you need to do is set your camera to record the film as it plays. Then you can transfer the recorded footage to your computer or mac.
But don’t mistake this simplicity for obstacle-free. Below are some serious cons that you should definitely keep in mind.
First, you will need to ensure that the surface of the projection is clean and flat. Try using a white or light gray wall to project on.
Additionally, you’ll also want the space to be quiet and uninterrupted. A production studio or isolated home studio would be best to do this job. Just make sure that nobody is going to barge into the room and ruin the conversion process to film format altogether.
Using digital conversion software can help you add titles to the reel. But that’s as far as your editing may be able to go.
With such a simple setup, the digital recording of the 8 mm or super 8 itself won’t be as high-quality as you might like. This tends to boil down to the fact that frame rates have changed over time.
Modern cameras capture film at thirty frames per second. But 8mm film only reaches about sixteen.
This can make your digital video look jittery. So while this method is quick, you won’t be able to fully restore your 8mm videos with accuracy.
Another issue to consider with this method is how old your films are. Both 8 mm and Super 8 film can shrink over time.
In this case, the 8mm and super 8 film may have trouble fitting into the projector properly. Worst case scenario, they’ll even rip without having the chance to digitize.
The cons of this process are very real. But if you’re looking to avoid paying for an expensive service, this may be the way to convert your films for you.
#2. Scan each frame individually
This film transfer method is just a step above the easy DIY route. It involves more intricate steps so this is best attempted by someone who knows their way around a camera.
Still using the same material listed previously, remove the lens from your projector. Attach an element to the lens to help filter and focus the lens’s light output.
Reinstall the projector lens and place your DSLR in front of the lens. Turn the camera on, then drape a cloth over the lens of the camera.
The cloth should cover where the camera and lenses meet. And it should be dark enough in color to prevent light from shining through.
Thread your 8mm or super 8 tape through and start recording. Ensure that the scanning device has enough memory to store the whole film.
If you transfer 8mm film this way, your video will definitely have a higher resolution. DSLR cameras also eliminate grain and capture images with more accuracy.
But converting 8mm film through this method is not without its cons. Using a projector can still tear your photos or home movies.
And while image quality can get better, it still won’t be the best. But if you’re looking to save money from paying for a professional service, this converter method may be the one for you.
Bonus: How To Become A Commercial Director
#3. Invest in a Transfer Machine

A transfer machine is the closest you’ll get to a professional service. As a self-contained machine, you’ll be able to convert your home movie by simply pressing play.
Most of these machines tend to run at 20 frames per second. So some notice that their final videos end up running a bit too fast.
But these machines allow you to tinker with exposure and contrast settings before recording. So make sure to allow for some test runs before converting a whole roll of film.
Choosing the right storage format

Digital files can be stored in a variety of formats. Below are the main options that you have to choose from:
- DVD
- HD-MP4
- AVI
- MOV
Most people are familiar with DVD formats but they are quickly going out of use. Instead, AVI and MOV formats are easier to download online since they are more compressed.
But HD-MP4 is the most recommended format to convert to. Its higher resolution makes it suitable for a variety of editing programs.
And they can easily store files on a USB drive, SD card, or computer.
Preserving your family movies
Preserving your home media with quality and finesse has never been more important. And this list is certainly not an exhaustive one.
But, hopefully, this guide has given you some insight into how to digitize your home images. Just be sure to start the process before your old reels become too dusty.
You’ll want to hold onto those memories in any way that you can.
Keep Reading: What Does a Cinematographer Do?
–
Mack Sennett Studios is a historic full-service photography studio, production sound stage, and private event space in Silver Lake, serving as creative home to the Los Angeles cultural renaissance for the last 100 years. Check us out on Facebook, Twitter, Vimeo, Pinterest, Yelp and Instagram.